Hah.
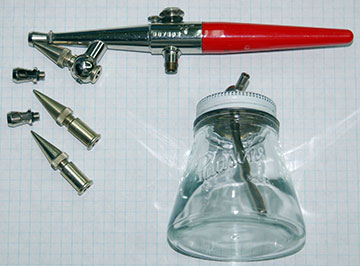
Playing with these 'toys' is how I make my living.

Anyway, sorry Sniper, I keep forgetting to check my colour list at work.
Unfortunately for you, you will easily spend more on tools and paint for your early kits than you spend on the kits.
It slows down a bit as you accumulate tools and junk but you always need that one bottle of colour...
Ok, you can compromise a bit and still turn out a nice kit.
You can mix colours from the basic 1/4oz bottle collection.
Use all flat finish paints. MUCH easier to brush on. Gloss paints don't brush well, the shiny surface shows brushmarks.
You can spray can some of the stuff but you won't find correct French colours in a spraybomb.
With a little bit of care you can turn out a pretty nice looking model with a brush.
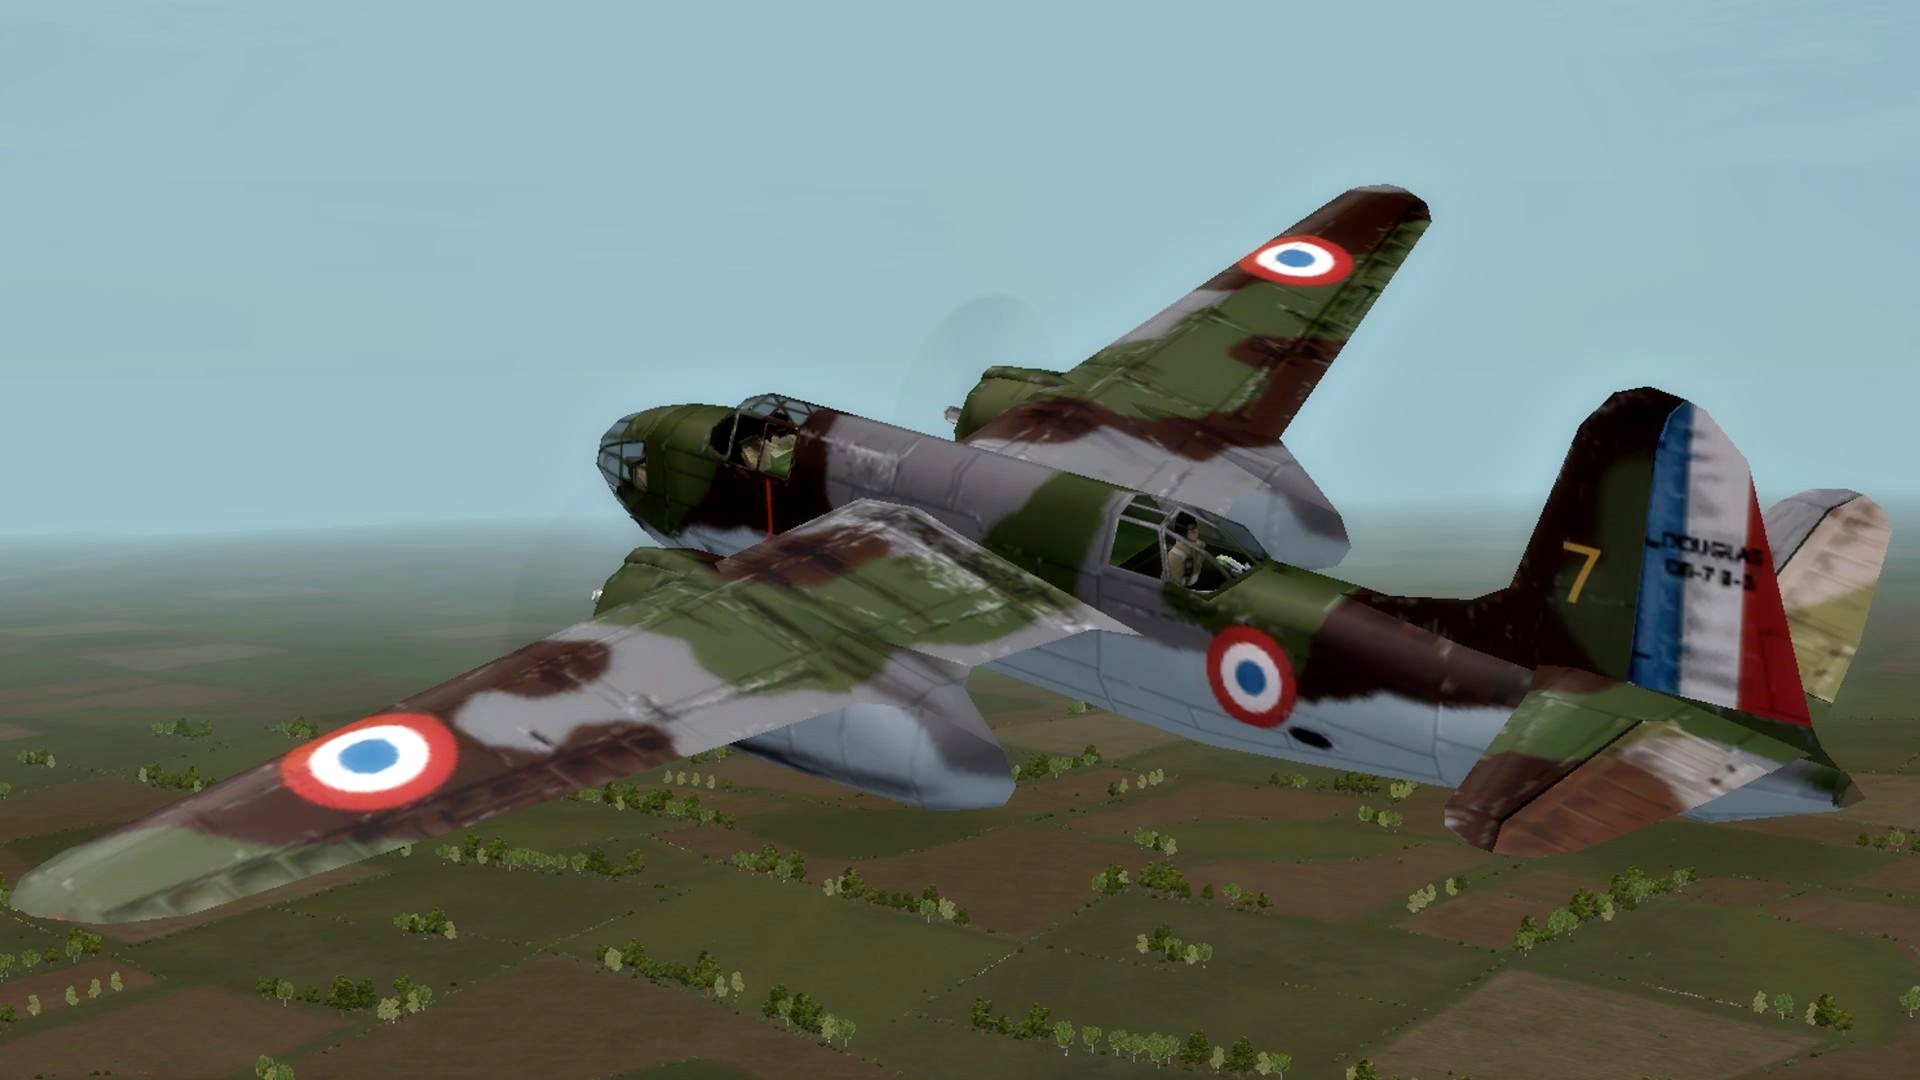
Ok a couple of tips to build the DB-7.
First, the Boston III is not the same plane and without a fair amount of work it's gonna be just a paint change.
The most obvious differences are in the bombardiers space. Just remember to use the step edge canopy and leave off the cheek bulges.
French instruments and the BronzeAvia bombsight will need to be made.
Anyway, quick and dirty;
Spraycan all interior parts Testors flat medium green, inside bomb bay, cockpit and crew station parts, inside cowlings and firewalls.
EVERYTHING that goes inside the A/C gets painted that colour. It's an American colour but hey, they were built in California and the French didn't repaint the interiors.
Don't forget your flaps, gear and bomb bay doors!
You can use the game interior as a pretty good reference for interior detail colours, do them with a nice pointed brush.
(Hint, most things will be flat black)
Despite what the instructions say, assemble the nose sections to their respective fuselage halves BEFORE you assemble the fuselage, it will save you a LOT of fit problems.
Oh, and load as much weight as you can in the nose (lead shot or sinkers) or she'll sit on her tail. DON'T use plastic cement to hold your weights. CA or Wood Glue.
When you get everything that goes in the fuselage painted to your satisfaction, you can glue the halves together taking care to line up panel lines and closing the gaps a tight as you can.
TEST FIT BEFORE GLUING!!!!!
Rubber bands and clothespins will help hold things until the glue cures. Give it a couple hours.
If you get little bit of melted plastic oozing out of the joint that's good, when it cures you can shave it off and it will fill the seam.
While that cures assemble everything that comes in halves, tyres, bombs etc., clamp 'em tight and let 'em cure.
Anything that is meant to look like bare metal will benefit from a base coat of flat black. While you are painting black, don't forget props and tyres.
Metallic paints can be lightly scrubbed on to catch the edges of the details, like on engine cylinders, or brushed smooth like on prop bosses and landing gear legs (Legs are painted flat aluminium and oleos are chrome silver).
Assemble wings and elevators but don't attach them.
When everything is cured, scrape down your seams and mask everything. Damp tissue in the cockpits, gear wells, nacelles and bomb bay.
Glue the wings and tail on, make sure joins are tight and square (Check wing and tail dihedral!)
Spray the ENTIRE plane, top and bottom with Testors Intermediate Blue. This is sorta close to the correct French colour and will give you a primer for brushing on the camo colours.
Let's see... Testors has a flat green in those little square bottles that is a pretty good match for the French green, If you lighten up the Testors flat grey with some white you get the French grey.
Flat Tan and a little black should get you close to the Chocolate Brown.
Brush those on, lightest colour first, patterns according to game refs.
Should look ok at this point, unmask, add the canopies, gear doors, gear legs, antenna and fiddly bits. Assemble the engines cowls and props and attach them
Put on your markings and Hey Presto! You built a bomber!
I should point out that this is a pretty basic build, I have left out a LOT of info but I don't wanna scare you.

Here is a guy building a different variant of the same kit.
http://hyperscale.com/features/2002/db7dk_1.htm
Please note I didn't cover any weathering or extra detailing. This should give you an idea what this kit can look like.


